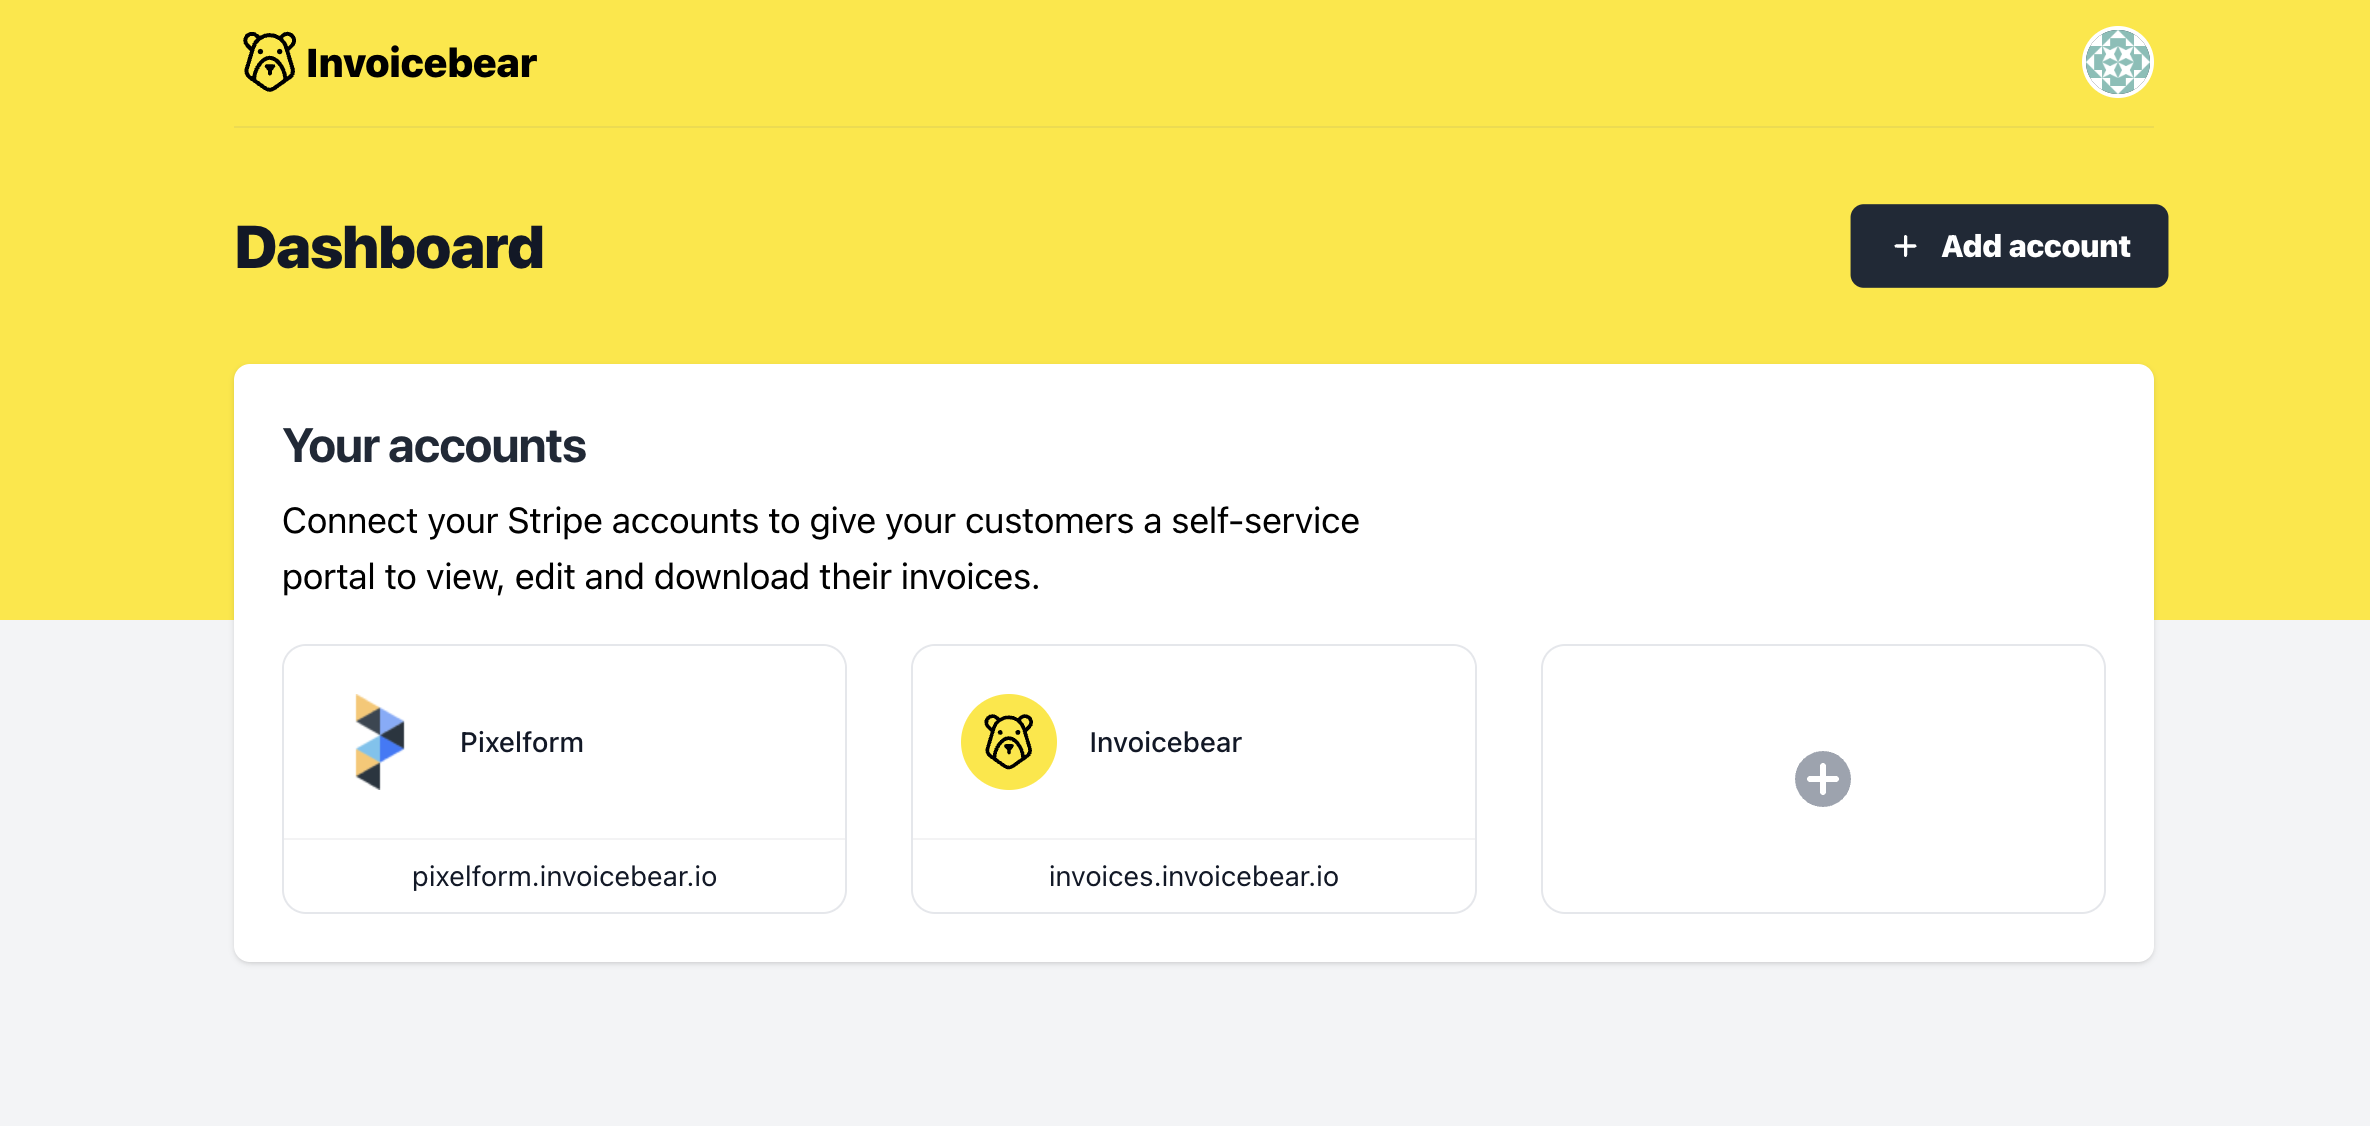
Looking for a way to create short & sweet link URLs that match your brand? You can customize your Invoicebear links and metadata using your own (sub)domain.
- Customize your invoices link and metadata
- Get access to code injection
- Hosting and SSL certificates
Setting up a custom domain in Invoicebear is simple and straightforward. Follow the instructions that are provided to you and you will be up and running in less than a minute.
When you connect your custom domain, Invoicebear will also provision a SSL certificate. This will ensure that all communications will be secure and your invoices safe.
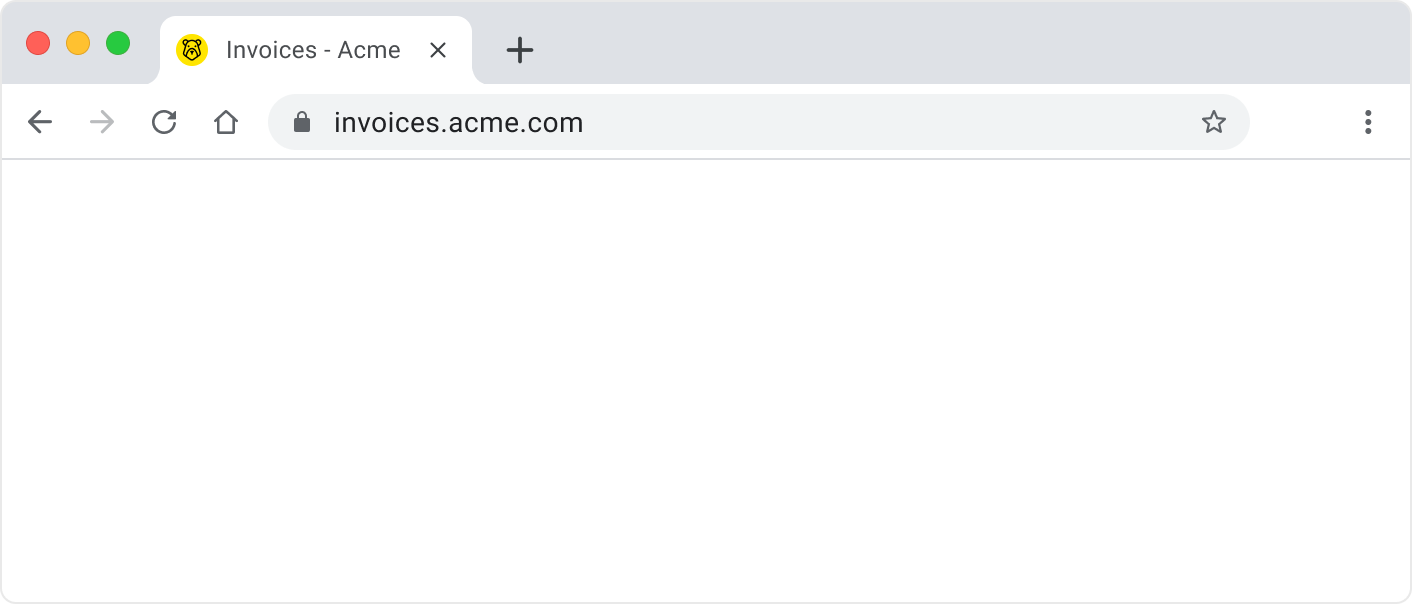
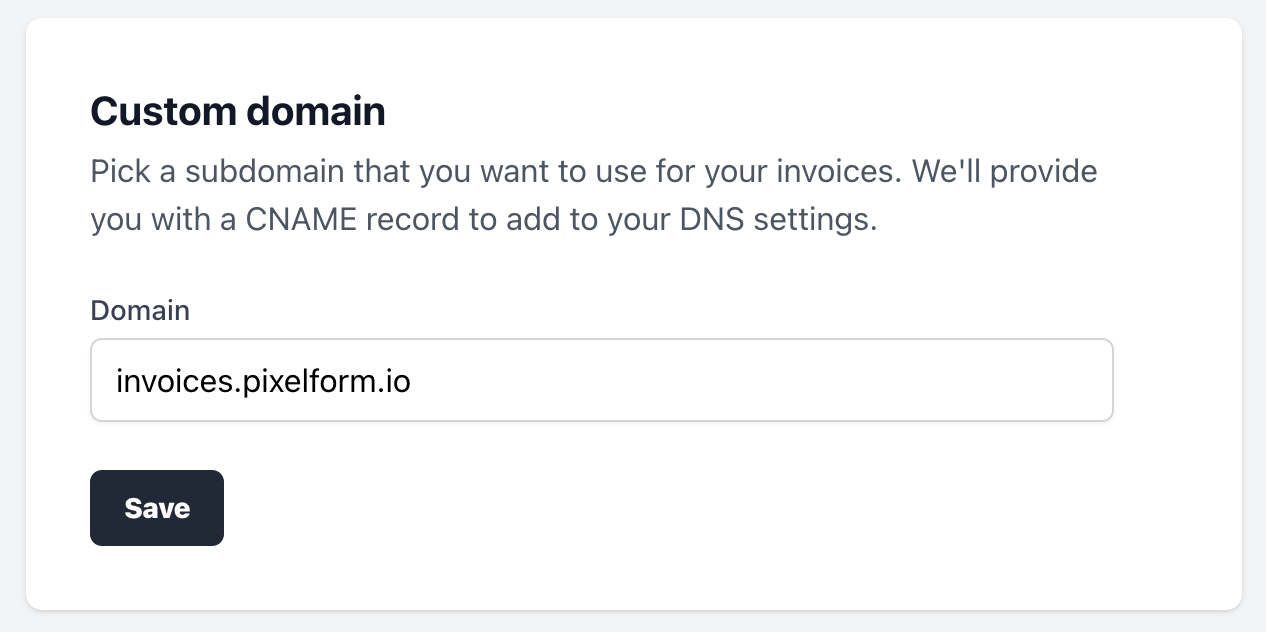
1. Connect your custom domain
Go to your integration and locate the Custom domain box. Add your custom domain (e.g invoices.acme.com)
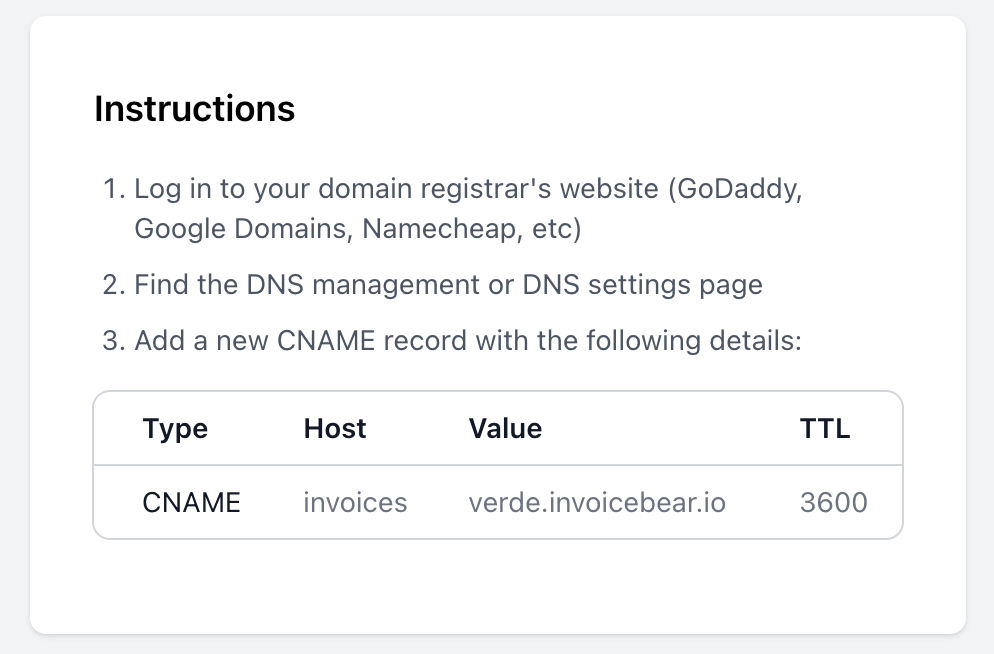
2. Add DNS records to your domain provider
After adding your domain, you will need to open your domain provider's settings (Cloudflare, Namecheap, GoDaddy or others) and add the generated DNS record.
You will need to wait until the DNS records are verified. This can take from a few seconds to a few minutes due to the time your DNS takes to propagate across the world.
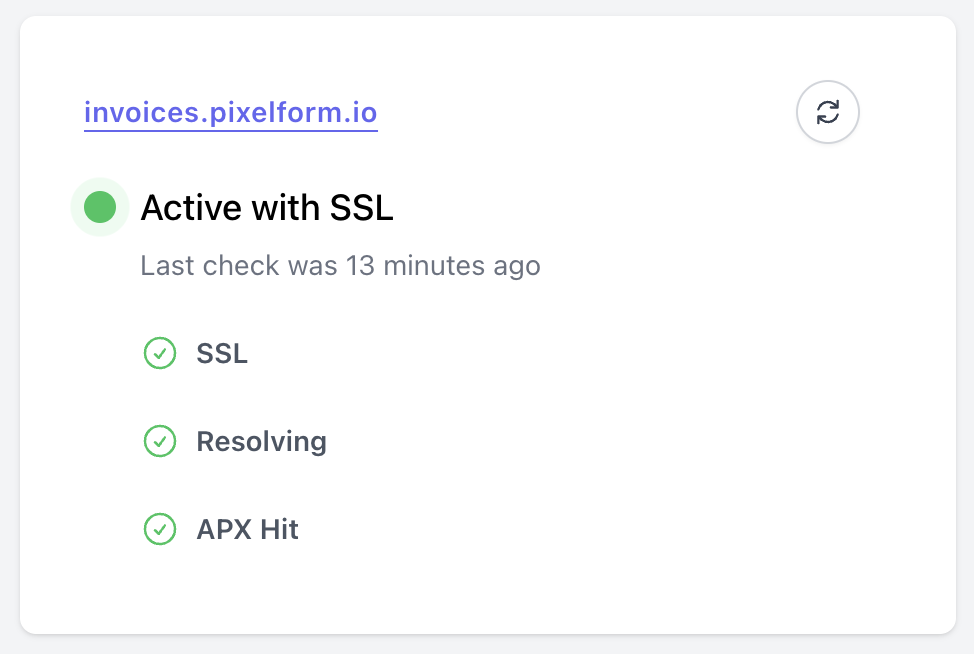
Your domain will resolve successfully and Invoicebear will automatically issue a SSL certificate. The light will turn green - your domain is active.